Convent of Our Lady of the Charred Visage is a Location in Blasphemous. Convent of Our Lady of the Charred Visage is a convent located atop the snowy mountains of Cvstodia, the nuns here worship a woman named Aurea who burnt her face with boiling oil. Please see Walkthrough for other areas.

General Information
- Previous: Graveyard of the Peaks
- Next: Mountains of the Endless Dusk
- Bosses: Our Lady of the Charred Visage
Video Walkthrough
[video goes here]
Map
[map goes here]
NPCs in the area
Bosses
Items
Collectibles
Equipment & Magic
- Piece of a Golden Mask
- Heart of Saltpeter Blood
- Small Bead of Blue Wax
- Heart of the Unnamed Minstrel
Key/Quest Items
Enemies
Full Convent of Our Lady of the Charred Visage Walkthrough
The convent is accessed via the top of the Graveyard of the Peaks. A woman named Aurea was canonized after burning her face with boiling oil and called her as Our Lady of the Charred Visage, she is highly worshipped by the Nuns and those who reside in the convent who mistook her act to be the work of The Miracle.
Cursed Convent
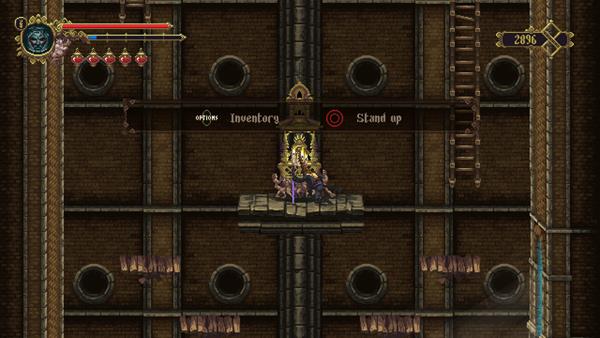
Start off by going straight through the long corridor where you'll encounter a Sister of the Our Lady of the Burnt Face, kill it then head inside the convent and activate the Prie Dieu altar that's at the middle of the room - when you're done, jump down to the bottom and go inside the room to your left.
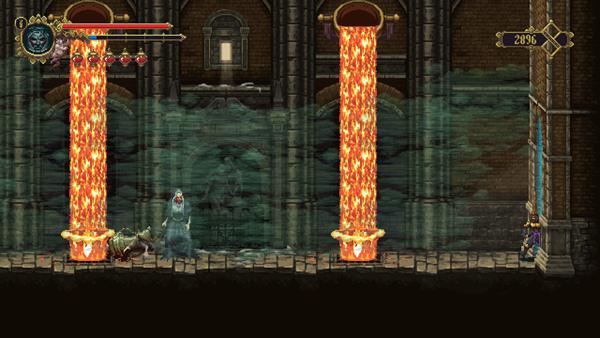
In this room, you'll find it filled with toxic gas as well as lava that's being poured from large cauldrons, if you bought the Moss Preserved in Glass from Candelaria earlier, equip it to lessen the damage from the toxins. You'll come across three Sister of the Our Lady of the Burnt Face, it is best to avoid it by jumping over them, just be careful of their thurible since it inflicts damage upon contact - head to the end where you'll find the Nun that's controlling the cauldrons, kill it to stop it from controlling it and acquire the Mea Culpa Heart: Heart of Saltpeter Blood, when you're done, head back and go to the door that's on your right.
Lady of the Six Sorrows
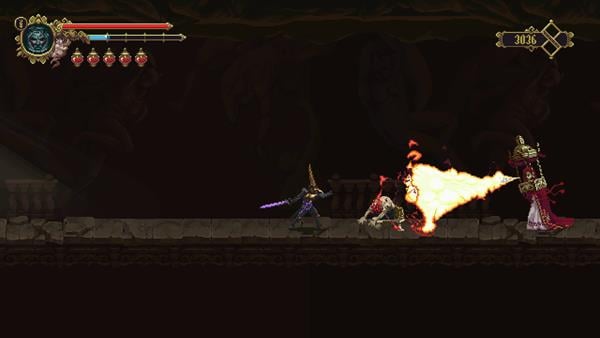
For the next room, you'll encounter two new enemies for this location, the Percheron and Blazing Icon. The Percheron can be easily killed with two strikes, while the Blazing Icon spits out a burst of flame, you can dodge this by ducking near her, allowing you to deal damage while she attacks - go to the end until you reach the next room that connects to the Graveyard of the Peaks.

Before riding the lift down, go inside the room that's on the right and step on the stains of blood. Press the ranged attack button and The Penitent One will slice himself causing the gate ahead to open, here you'll find another Mea Culpa Heart: Heart of the Unnamed Minstrel.
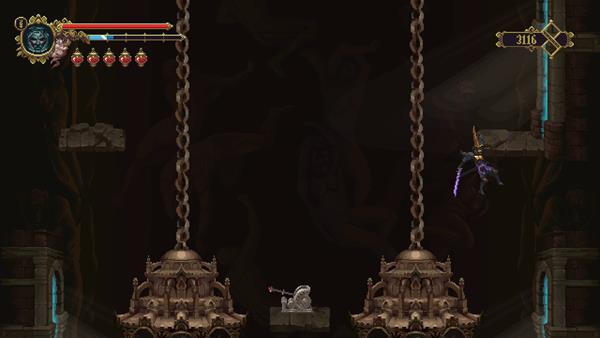
Go back, and ride the lift down. When you've arrived, jump to the top of the lift you just rode to reach the room that's on the upper right, you'll find the Lady of the Six Sorrows in this room, interact with her and you'll gain an increase of your health. After that's done, ride the elevator back up and head back to the convent, this time from the Prie Dieu, climb to the top right and enter the door there - next, you'll find more cauldrons with lava that is being controlled by another Nun, make your way to the end and kill it before climbing up the ladder to enter the next section.
The Convent's Upper Level
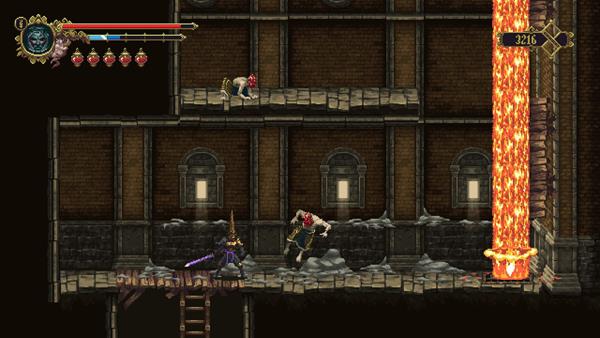
When you reach the next section, you'll have to climb up while dealing with the Percheron, there's about three of them, one waiting on each level, and at the top, you'll find the Nun that's controlling the cauldron - when you reach the top, enter the room to reach the next section.
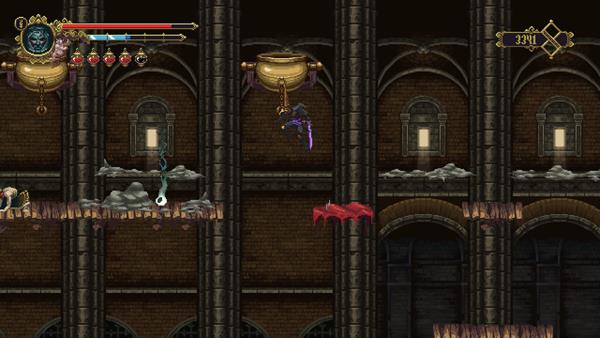
In this section, make sure you have the Blood Perpetuated in Sand equip so you can use the red platform to reach another Collectible: Sternum of Vitas, the Performer. You'll find the nun controlling the cauldrons near the item as well as another Percheron, kill it then continue into the next section.

Next, you'll want to head all the way down and climb the ladder to reach the next room. But before that, make your way around, through the toxic gas and back up where you'll find a Rosary Bead:Piece of a Golden Mask - just be cautious since you'll be facing a lot of enemies here before reaching the item, when you have the item, go back down and climb down the ladder to enter the next room then go inside the door to your right, you'll find a switch that brings the ladder down near the Prie Dieu altar.

Continue going down and you'll face another enemy, The Baroness. This enemy is a ghost where it can teleport and quickly shoot lasers twice, if you're fast enough and land your hits on it, you'll interrupt its attack and it'll reposition itself. Head to the bottom part of the room and make your way to the left side where you'll find a door, you'll encounter more enemies here.

Before heading inside, climb to the top and make sure to pick up another Collectible: Phalanx of Miriam, the Counsellor that's on the upper right-hand side of this room - just be careful since there will be more enemies along the way.

Inside this room, there's more Percheron alongside The Baroness. Kill the enemies and head to the end where you'll find another Rosary Bead: Small Bead of Blue Wax next to the blue candle - when you have the item, head back to the prev. room and climb back to the top and onto the ladder to enter the next section - when you arrive, simply make your way all the way to the left side of the room to enter the next room.
![]()
Now, you'll need to climb to the top of this room while dealing with the Blazing Icon, when you reach the top, go through the door where you'll enter a long corridor, here, you'll find the Dried Flowers bathed in Tears by the bed of flowers, another Prie Dieu altar, and Viridiana at the end, who's standing near the door that will take you to a boss arena.
Boss Battle: Our Lady of the Charred Visage

Walk up to the middle of the arena and the battle will start shortly, remember, ask for Viridiana's assistance before entering the room, you can land a couple of hits on its exposed head/wound before it actually appears. The fight begins with the face of Our Lady coming into view, followed by one of their hands. The pink spot (which is her brain) that is the exposed spot in the middle of Our Lady's forehead is her only attackable spot. This means that at the beginning, your only option is to use upward slash attacks. The weak point is not low enough to the ground for you to use the Down + Attack combo.
The first hand will telegraph a beam attack first by radiating a thin, purple beam in any direction, usually at a point near the player. After approximately two seconds, the beam will widen and will do damage if you come into contact with it. It tracks, but slowly enough for you to simply run away from it. You CANNOT dodge-slide through it.
Following the beam attack, the hand will emit yellow orbs in a circular pattern. While these move at a quicker pace than the prior beam attack, they are able to be slid under given the proper timing. Again, you cannot slide THROUGH them.

The most important attack to pay attention to is when the hand begins to shoot out orange-colored orbs. These can be attacked and will be reflected back toward the point of origin. However, there is a caveat to this, which turns out to be the key to beating the boss. As long as the boss's weak point is between you and the orbs that you are reflecting, they will fly toward the boss's weak point, damaging it considerably. However, if you are underneath the boss, or are between the boss and the hand, you will only reflect the orbs back toward the hand.
Reflecting the orbs requires a bit of rhythm. Simply mashing the attack button may reflect the first one, but it will leave you wide open to the others, causing you considerable damage and stunlocking you in the process. Methodical, evenly-timed swipes are the most efficient method for reflecting the orange orbs.
About mid-way through the fight, a second hand will appear, and it has the exact same attacks as the first hand, although each hand can vary its attacks. You will not, however, ever have two hands shooting the orange, reflectable orbs, so it's important to keep a close watch on your positioning once the second hand appears.
If you defeat the boss you will see the writing "REQUIEM AETERNAM" upon the screen and you'll be rewarded with ![]() 2600 as well as unlocking the Trophy/Achievement: Face Off.
2600 as well as unlocking the Trophy/Achievement: Face Off.

After defeating the boss, head inside the door that's on your right and you'll find another Holy Guardian Visage who will give you the Holy Wound of Compunction, when you're out of the dream sequence, you'll find a chalice before exiting the room, interact with it and you'll fill the Golden Thimble with burning oil.

When that's done, enter the room and you'll find Deogracias, speak to him, activate the switch ahead to bring the ladder down and go through the door ahead before going down, you'll find a Mea Culpa shrine inside the room - after you've prayed, head back down and towards the next area, Mountains of the Endless Dusk.
Video
[video goes here]
Map
[map goes here]
Trivia & Notes:
Trivia and notes go here

Helped a lot, I was hesitant to continue without knowing where to go.
1
+10
-1